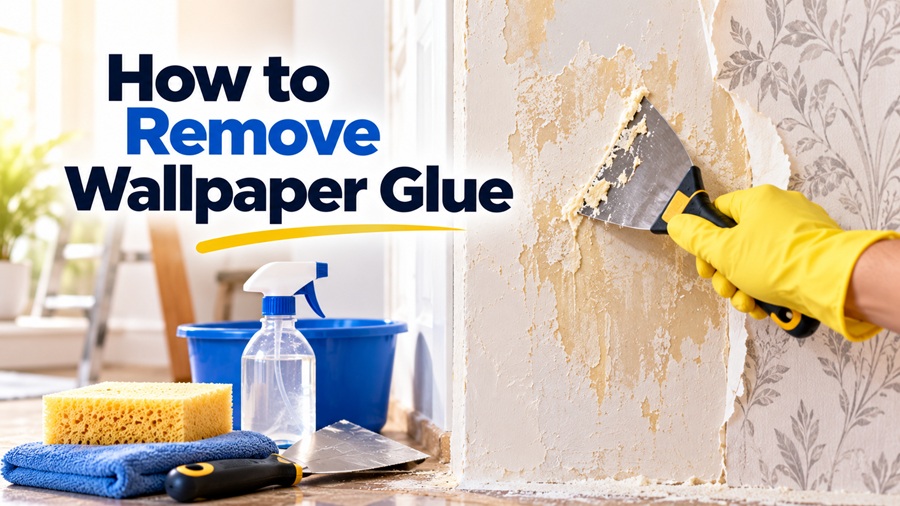
The easiest way to remove wallpaper glue is to soak it with hot water mixed with a little dish soap or vinegar, let it soften for several minutes, then gently scrape it off with a plastic putty knife and wipe the wall clean with a sponge. Repeat until the wall no longer feels slick or tacky, then rinse with clean water and let it dry completely before painting.
The process takes patience more than strength. Most wall damage happens when people rush, scrape too hard or soak drywall too long. Working in small sections and letting the solution do the work gives the cleanest result.
Wallpaper Glue Removal at a Glance
| Item | Summary |
| Best basic method | Hot water with dish soap or vinegar, then scrape and wipe |
| Other options | Fabric softener solution, commercial gel remover, wallpaper steamer |
| Main tools | Spray bottle, sponge, plastic putty knife, buckets, drop cloths |
| Time required | A few hours for a small room, longer for heavy residue |
| Best wall types | Works on drywall and plaster with different levels of care |
| Biggest risk | Damaging drywall paper by over-soaking or scraping too hard |
| Final step | Rinse, dry, inspect and prime before painting |
Why Leftover Glue Is a Problem
After wallpaper comes down, it is tempting to paint right over the wall. That usually ends badly.
Old wallpaper paste can react with water-based paint, causing cracks, bubbling, peeling or a crackled look as the paint dries. Glue residue also creates an uneven surface that shows through the final coat.
Getting the glue off first is what makes the finished wall look professionally done.
Tools and Supplies
You do not need much, but having everything ready keeps the job moving.
| Tool or Supply | Purpose |
| Drop cloths or plastic sheeting | Protect floors from wet residue |
| Painter’s tape | Cover outlets, switches and trim edges |
| Spray bottle or garden pump sprayer | Apply solution evenly |
| Two buckets | One for solution, one for rinse water |
| Large sponges | Apply solution and wipe glue away |
| Plastic putty knife or scraper | Remove softened paste without gouging |
| Dish soap, white vinegar or fabric softener | Break down adhesive |
| Microfiber or old towels | Dry and wipe surfaces |
| Rubber gloves | Protect hands |
| Wallpaper steamer (optional) | Tough or layered residue |
Prepare the Room First
Preparation saves a lot of cleanup later.
Turn off power to the room at the breaker before spraying liquid near outlets and switches. Remove cover plates and tape over openings.
Lay drop cloths along the base of the walls, and tape plastic over baseboards if they are wood or painted.
Open windows or run a fan for ventilation, especially if you use a commercial remover.
Move furniture away from the walls to give yourself room to work.
Method 1: Hot Water and Dish Soap
This is the gentlest and most common method. It works well on light to moderate residue.
Fill a bucket with hot water, as hot as you can comfortably handle with gloves. Add a teaspoon or so of dish soap per gallon.
Work on a small section, about three or four feet wide. Spray or sponge the solution onto the wall and let it sit for five to ten minutes. The glue should start to feel soft and slippery.
Scrape gently with a plastic putty knife held at a low angle. Wipe the loosened glue away with a sponge, rinsing it often in your clean water bucket.
Repeat on the same section if the wall still feels sticky, then move to the next area.
Method 2: Vinegar Solution
Vinegar is mildly acidic and helps break down many wallpaper pastes.
Mix equal parts hot water and white vinegar. Apply it to the wall, let it soak for several minutes and scrape and wipe the same way as the soap method.
The smell fades as the wall dries. This method is a good next step if dish soap alone is not doing the job.
Method 3: Fabric Softener Mix
Fabric softener contains ingredients that help loosen adhesive.
Mix about one part liquid fabric softener with two to three parts hot water. Apply, let it soak, then scrape and wipe.
Some DIYers prefer this method on stubborn residue because it seems to soften glue faster. Rinse the wall well afterward to remove any softener film before painting.
Method 4: Commercial Wallpaper Paste Remover
Gel or liquid removers are made specifically for wallpaper adhesive. Gels cling to the wall instead of running down, which helps on vertical surfaces.
Follow the product instructions closely. Many recommend applying, waiting a set time, then scraping and rinsing. These products can be useful for older or very heavy paste.
Method 5: Wallpaper Steamer
A steamer uses hot steam to soften stubborn glue, especially in older homes where multiple layers of paper and paste have built up.
Hold the steam plate against a section of wall for a short time, then scrape. Move steadily. Holding the steamer too long in one place, especially on drywall, can soften and damage the paper face.
Steamers work particularly well on plaster walls, which can handle heat and moisture better than drywall.
| Method | Strength | Cost | Best For |
| Hot water and dish soap | Gentle | Very low | Light residue, drywall |
| Vinegar and water | Moderate | Very low | Moderate residue |
| Fabric softener mix | Moderate | Low | Stubborn but not layered paste |
| Commercial remover | Strong | Moderate | Heavy or old adhesive |
| Steamer | Strong | Rental or purchase cost | Thick layers, plaster walls |
Drywall vs. Plaster: Adjust Your Approach
The type of wall makes a big difference.
Drywall has a paper face that can tear or bubble if it gets too wet or is scraped hard. Use the minimum amount of solution needed, work in small sections and keep your scraper low and light. If the brown paper underneath starts to show or peel, stop scraping that area.
Plaster walls are harder and more forgiving. You can use more water, longer soak times and a steamer with less risk. Older plaster may have hairline cracks that become visible once the paper is gone, so be ready for some patching.
If you are not sure which you have, press a pushpin into a hidden spot. It slides into drywall fairly easily but resists in plaster. Older homes built before the mid-1900s are more likely to have plaster.
How to Tell When All the Glue Is Gone
Glue can be hard to see once it dries, so do a few quick checks.
Run your hand across the wall. It should feel smooth, not slick, sticky or rough.
Spray a little water on a section. If it feels slippery after a minute, glue is still there.
Look at the wall with a flashlight held flat against it. Shiny patches often mean leftover residue.
Some people also wipe a section with a damp dark cloth. A cloudy film on the cloth suggests more cleaning is needed.
Rinse and Dry
Once the glue is gone, wipe the entire wall with clean water and a sponge to remove remaining residue and cleaning solution.
Let the walls dry thoroughly, ideally for at least 24 hours. Painting over damp walls can cause adhesion problems and peeling.
Repair Any Damage
Small gouges, torn drywall paper or cracks are common, especially in older homes.
For torn drywall paper, seal the area with a shellac-based or oil-based primer before patching. This stops the paper from bubbling when joint compound is applied.
Fill gouges and dents with joint compound, let it dry, sand smooth and wipe away dust.
Prime Before Painting
Priming is essential after removing wallpaper. Even if you removed nearly all the glue, traces can remain.
An oil-based or shellac-based primer seals in any leftover adhesive and prevents it from reacting with water-based paint. Some primers are made specifically for walls after wallpaper removal.
After priming, you can paint with your chosen interior paint as usual.
Common Mistakes to Avoid
Painting directly over glue. This often leads to cracking and peeling.
Using a metal scraper aggressively. Metal blades gouge drywall easily. Plastic is safer for most walls.
Soaking drywall too long. Excess water can damage the paper face and even the gypsum core.
Skipping the rinse. Leftover cleaning solution can interfere with primer and paint.
Rushing the drying time. Patience here prevents problems later.
A Realistic Time Estimate
| Room Size and Condition | Approximate Time |
| Small bathroom, light residue | 2 to 3 hours |
| Bedroom, moderate residue | Half a day |
| Large room or multiple layers | A full day or more |
| Drying before priming | About 24 hours |
The Smooth Finish Is Worth It
Knowing how to remove wallpaper glue properly is what separates a quick cover-up from a wall that looks great for years. Hot water, a mild cleaner, a plastic scraper and some patience handle most jobs. Rinse well, let the wall dry, patch any damage and prime before painting.
It is not the most glamorous part of a room makeover, but it may be the most important. A clean, smooth wall makes every coat of paint that follows look its best.